
Why would you want to Set up a vertical monitor? maybe got a new monitor, and you are excited to swap it out with your old one, but when you are getting to try out your new monitor, you think to yourself “What will I do with my old one?” Well, there are multiple ways someone can benefit from an old monitor, but in this guide, we will only focus on the uses of a monitor in a vertical orientation, and how to set up a vertical monitor.
Should You Use a Vertical Monitor?
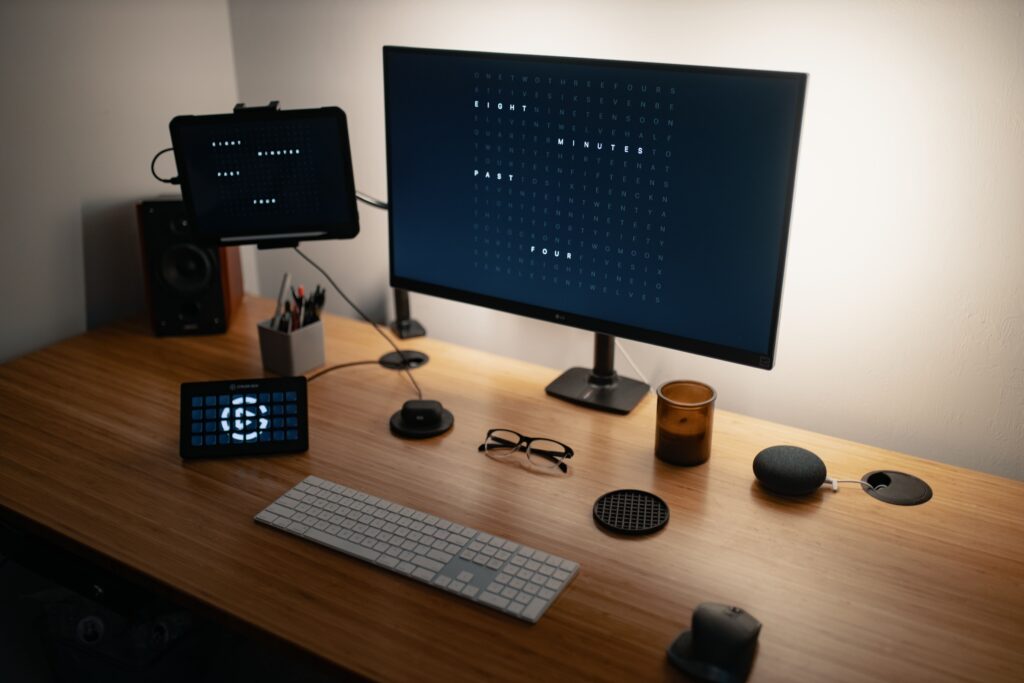
There’s a lot of value in having a second monitor set up at home. Whether you need to compare two different documents side by side or want to extend your desk space with a second screen, having an extra screen is always beneficial.
Software engineers and Programmers are usually the biggest users of vertical monitors since the portrait orientation is very helpful for examining larger sections of code. Twitch Streamers also use it to read their live chat messages.
Music Producers frequently use vertical monitors to view track settings and adjust them if needed.
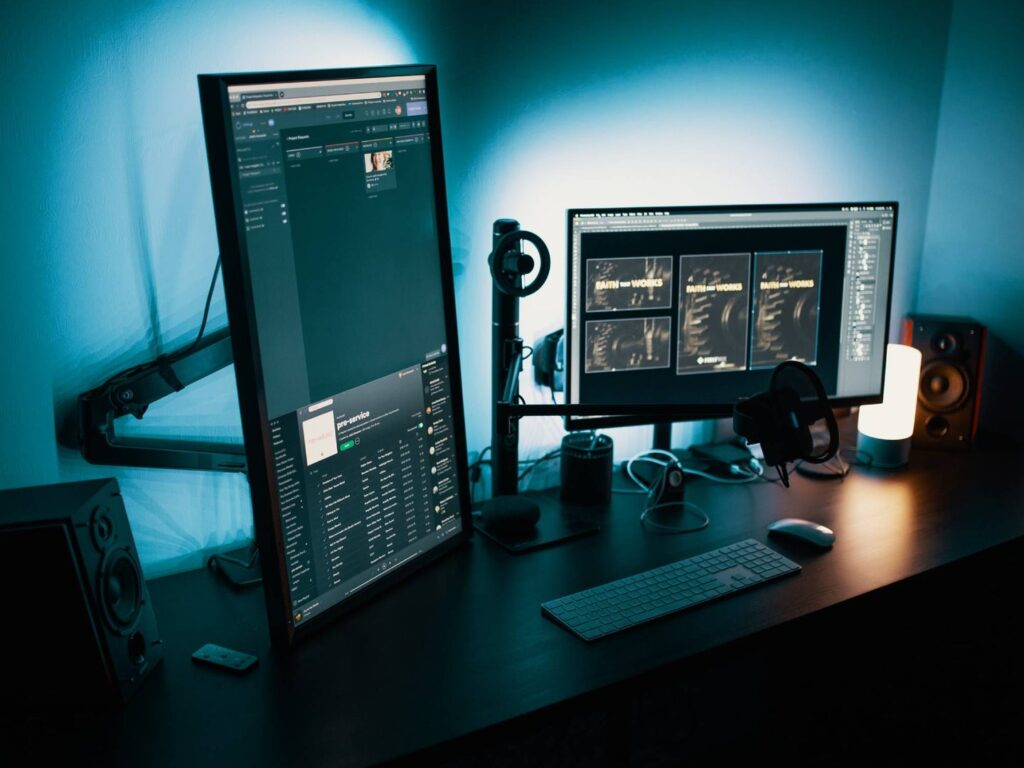
Vertical orientations are also very practical for multitasking since you can stack two less important apps on top of each other, like Spotify, and Discord.
Normal users might also use it for note-taking apps like Notion since you can view more text without having to scroll down the app.
What You’ll Need For A Vertical Monitor
First, you will need a second monitor to connect to your computer. The second screen could be an old monitor that you previously used, or you can buy a second monitor separately if you don’t have access to a second monitor already. Next, you will need a decent computer to be able to have two monitors. Ideally, Your GPU will have multiple HDMI or Display Port Ports, but if it doesn’t, you’ll have to use the dedicated ports on your Motherboard.

There is also another problem that many people run into, but the problem isn’t in the monitor, interestingly enough, it’s in the monitor stand.
Let me explain, if your monitor doesn’t have a detachable stand, and the stand doesn’t rotate, then there is no easy way to set it up in a vertical orientation. But if it’s VESA compatible, then you should be able to use any VESA mount as a monitor stand, given that it rotates 90 degrees.
How to Set up a Vertical Monitor in Windows 10/11
We will use the Windows 10 operating system for this tutorial, but the process in windows 11 is almost the same.
Step 1
Firstly, you need to make sure your monitor is actually connected to the PC (or Laptop) you plan to use.
You should always connect your monitor to your GPU if the ports are available, but if you don’t have a GPU in your machine, then you can connect your secondary monitor to your motherboard ports, but the GPU ports are better for performance.
Laptops usually have an HDMI port that you can connect to, but if you have a newer laptop, you might need an HDMI to USB-C adapter to be able to use an external monitor.
Step 2
Now that your monitor is connected, and working correctly without any problems happening on the screen, it’s time to switch its orientation.
Right-click on the desktop screen and navigate to Display Settings, you should now see two monitors (if you have two monitors connected to your PC), you can click the identify button in the bottom right, to find out which is which.
Step 3
Once you are in the display settings, simply scroll down until you find the orientation drop-down menu, and pick the portrait option.

Your Monitor should now be in Portrait mode, if it is upside down, then you should pick the Portrait (Flipped) option.


Change Screen Orientation Using Keyboard Shortcuts
I primarily use this method with laptops to flip the landscape orientation on my screen, if I have to view something upside down.
Using the CTRL + Alt + the arrow keys, you can flip your screen orientation to whatever you like, For example, CTRL + ALT + the down key, your screen will be flipped to be upside down.
How to Setup a Vertical Monitor in macOS
Changing your monitor orientation in macOS is different than windows, but the process is also able to be done in a few easy steps.
You might be using an external display with a MacBook or a mac pro with multiple displays.
Step 1
Navigate to the system preferences in the settings by clicking the apple icon and selecting system preferences.
Step 2
Once you are inside the system preferences screen, hold CMD and select your display, then navigate to the rotation Drop-Down menu labeled Rotation, and pick your desired rotation.
Other Options for macOS
it’s understandable if you don’t want to spend 6000 dollars on the Apple Pro Display just to use it as an external monitor for your MacBook, or Mac Mini.
Other options are available to use, but to achieve the highest quality out of your device, I would suggest buying a 24 to 31-inch monitor with 4K quality to produce the best image possible out of your device.
The Dell P3222QE is what I recommend for the Mac Mini or the MacBook since it has USB-C support, so you can use it as an external display with only one cable, and it has a hub for Ethernet, USB-A HDMI, Display Port, and More, all with one USB-C connection.
/

Using an iPad Pro as a Secondary Monitor
If your MacBook is a 2016 model or later, then you can easily use an iPad Pro (with iPadOS 13 or later) as a secondary monitor.
Step 1
You need to make sure both devices are logged into the same iCloud account and have 2-factor authentication turned on.
Step 2
Either connect your computer with the iPad, where you will also charge the device while using it as a monitor, or you can use the wireless connection.
Step 3
if you are on BigSur, click the Display icon in the menu bar and select your iPad, you should now be connected, and be prompted to pick an option where you can either mirror your screen with your iPad, or use it as a standalone secondary display.